Tutorial
First steps: sign up, add ¥10, and create an API key
Get an API key and the endpoint address in three steps, then paste them into Cherry Studio, Chatbox, Codex or any other client.
Every client is set up the same way: you need an API key and the endpoint address. This guide gets you both in about three minutes.
Step 1: Create an account
Open the sign-up page, enter your email and a password (at least 8 characters, with letters and digits), and click Sign up. The invite code is optional.
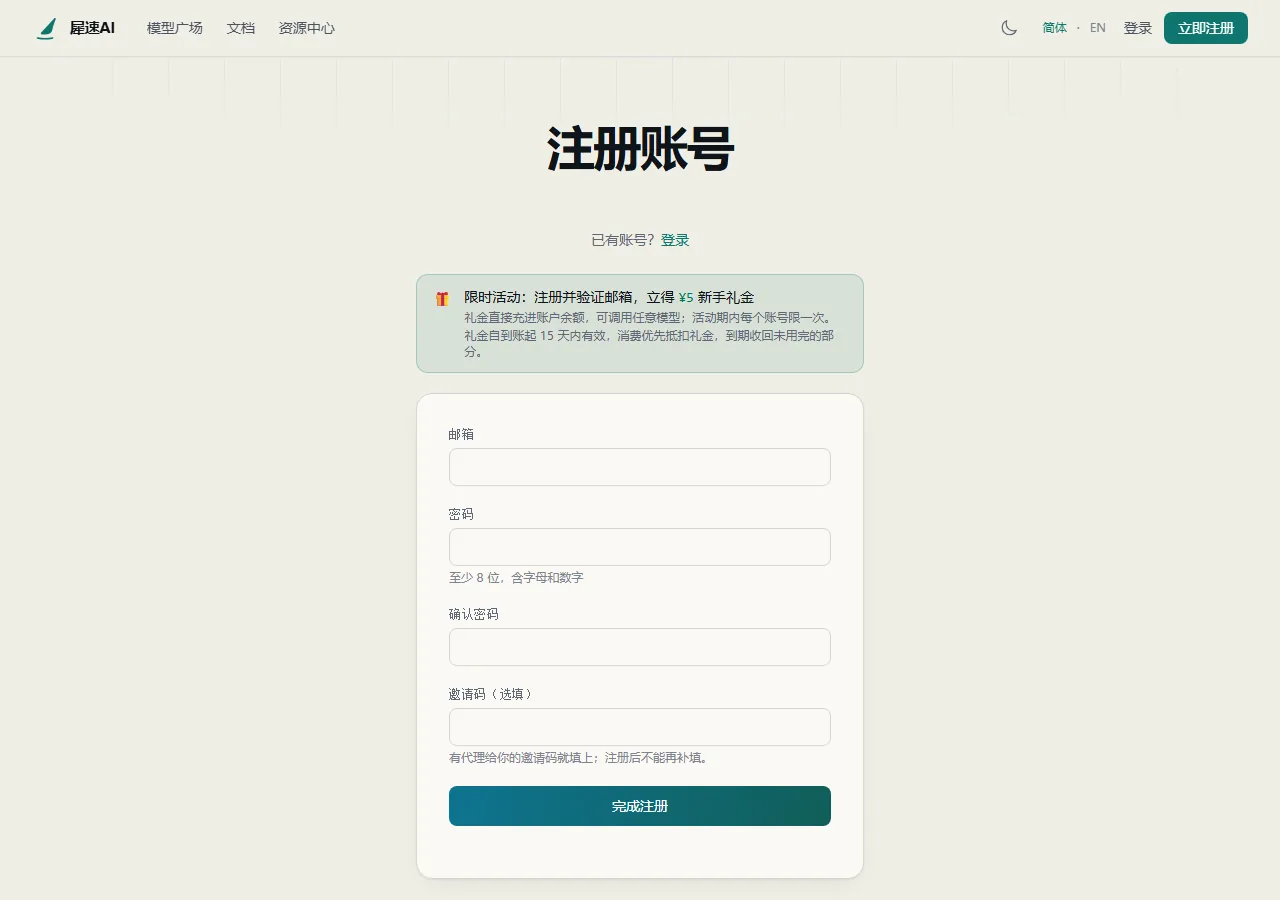
Then click the verification link in your inbox. If a new-user credit promotion is running, the credit lands in your balance as soon as the email is verified, and you can try the service with it.
Step 2: Add funds (start with ¥10)
In the console, open Billing center on the left, pick ¥10.00, and click Top up now.
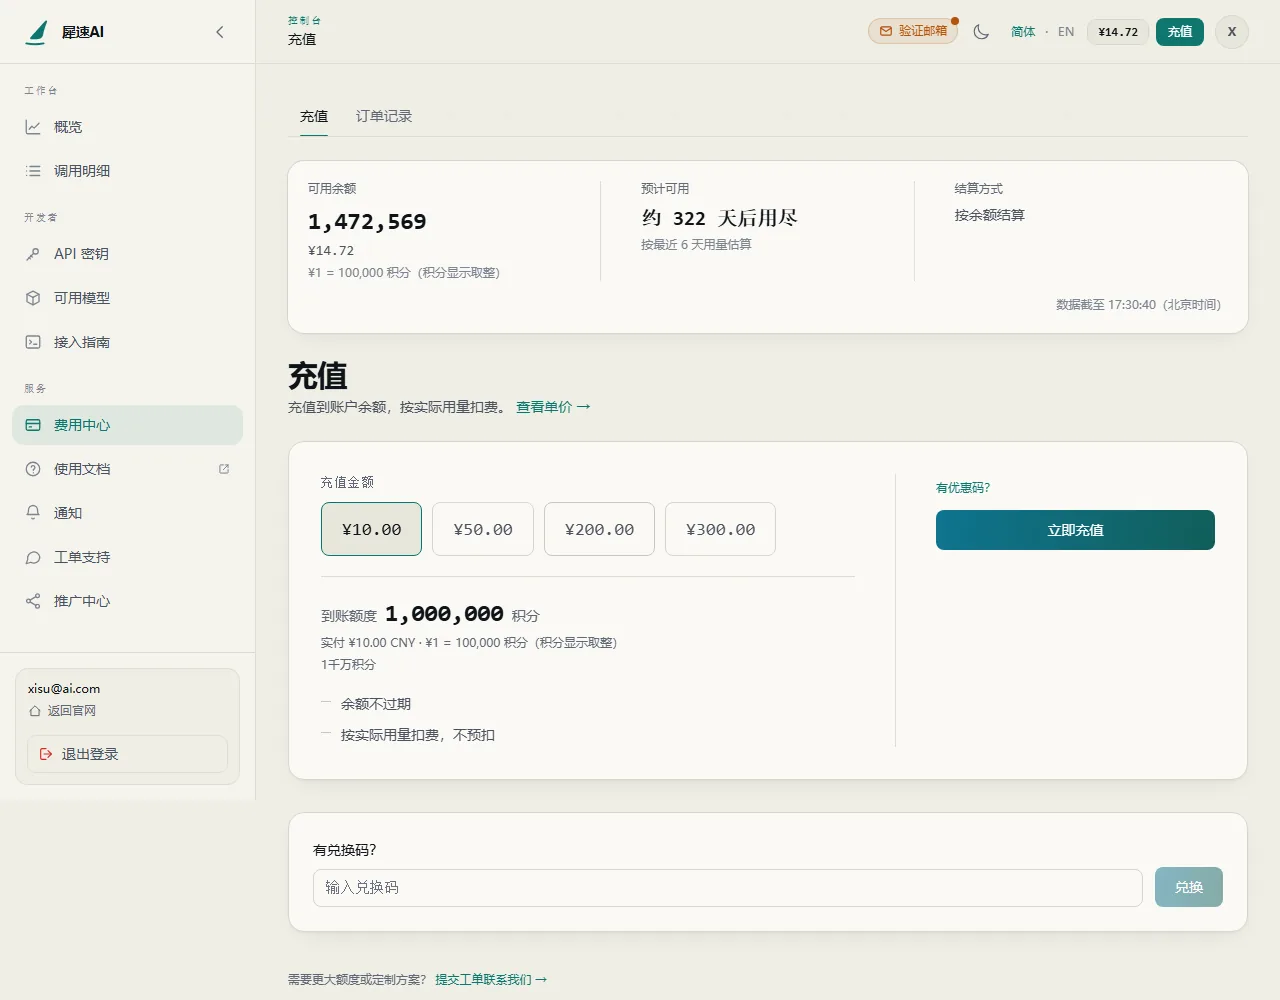
- Balance never expires. You pay for actual usage; nothing is held in advance.
- We suggest starting with ¥10. Add more once you are happy with the models and the speed. See Top-ups and refunds for the refund rules.
- If you have a redemption code, enter it under Have a gift code? at the bottom of the same page.
Step 3: Create an API key
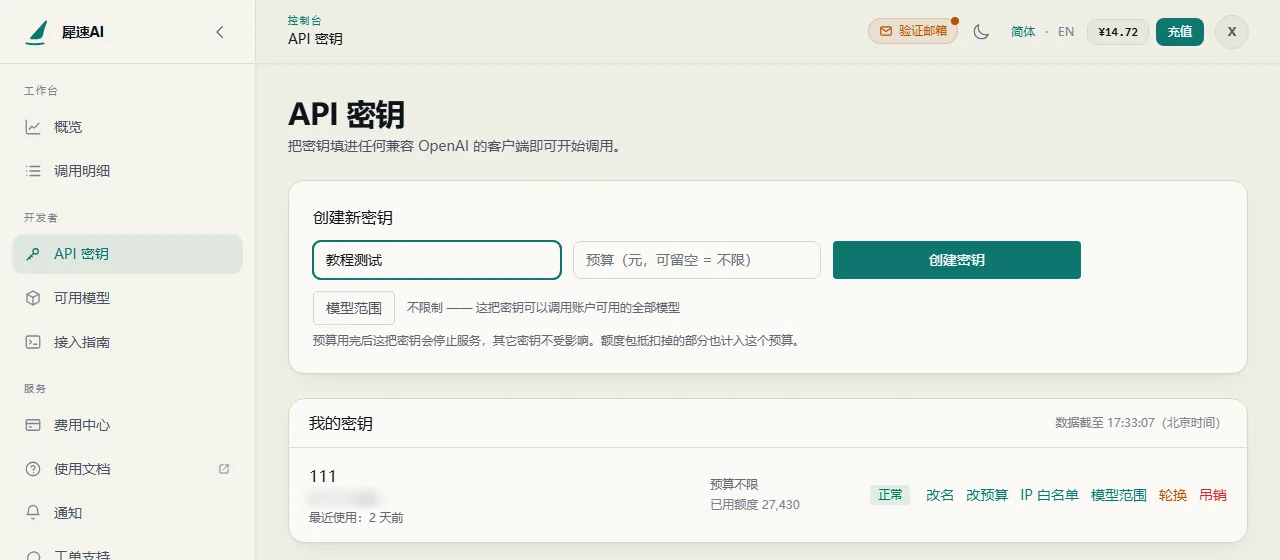
Open API keys on the left, give the key a name (for example "My laptop"), leave the budget empty if you like, and click Create key.
The full key appears at the top of the page. Click Copy and paste it into a note or password manager right away.
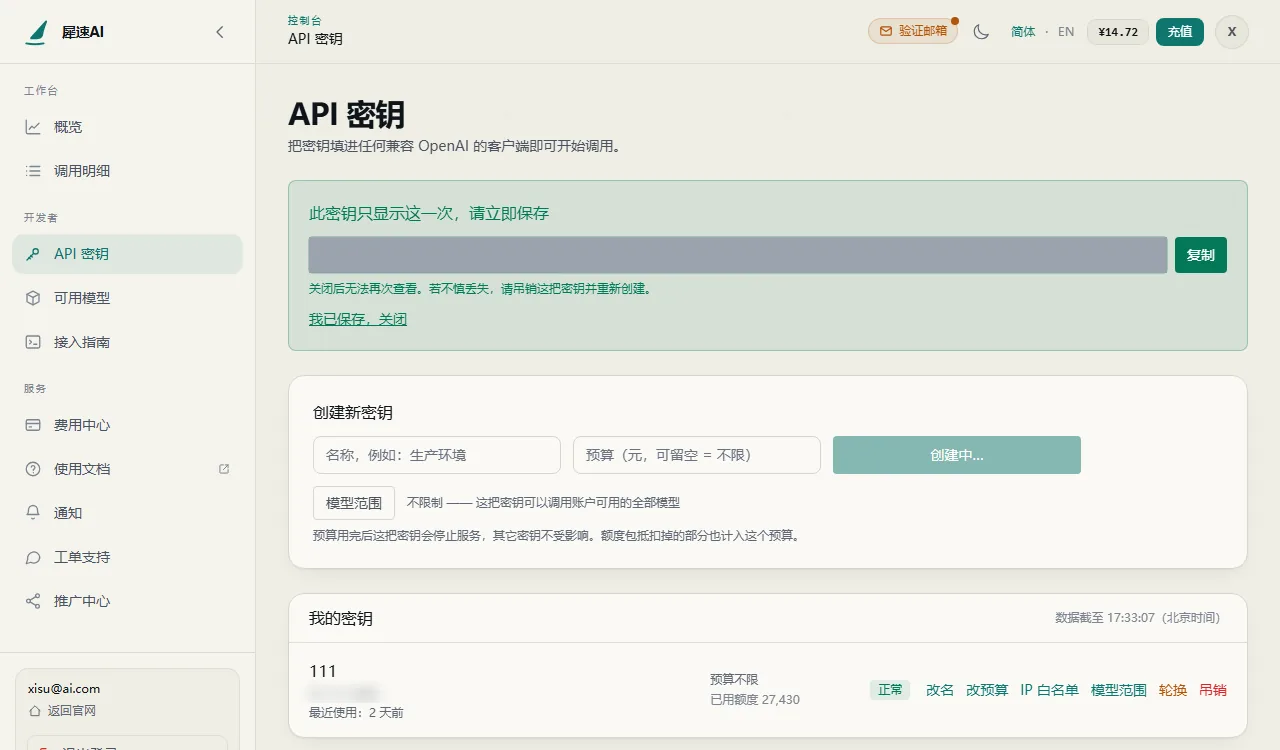
The key is shown only once. After you close the dialog, nobody can see it again, including us. If you lose it, revoke it and create a new one. Never share the key, and keep it out of chats, screenshots and public code.
Keep these two values
| Item | Value |
|---|---|
| API key | The string starting with sk- that you just copied |
| Endpoint (Base URL) | https://api.xisu.ai/v1 |
Some clients only want the domain https://api.xisu.ai and add /v1 themselves. Each client guide below says exactly what to enter.
Next: pick a client
- Cherry Studio setup guide: full-featured desktop chat app.
- Chatbox setup guide: simple chat app for desktop and phone.
- Codex (ChatGPT desktop app) setup guide: installed from the Microsoft Store, built for coding.
To check that you are really talking to the model you picked, see How to verify the model.